Photography allows us to share our unique perspective with the world. It can help to capture special moments in time, as well as highlight important issues and concerns.
Photographic is also a fun and creative way to spend time with family members. Learn about composition, lighting, and camera settings to create beautiful photos that you can treasure forever.
Composition
Photography is a visual medium that has the potential to convey a message beyond the literal subject matter. Composition is the art of arranging elements to create an appealing and harmonious image that tells a story. Whether you want to capture the beauty of a landscape, the emotion of a portrait, or the narrative of a street scene, mastering composition techniques will allow you to elevate your photographs and connect with viewers on a deeper level.
Like a skeleton, composition keeps all the parts of a photo together and supports the weights of different visual elements. It’s what determines where everything stays, who is bigger or smaller, and how dynamic the photo looks. Click on Devon wedding photographer for more information.
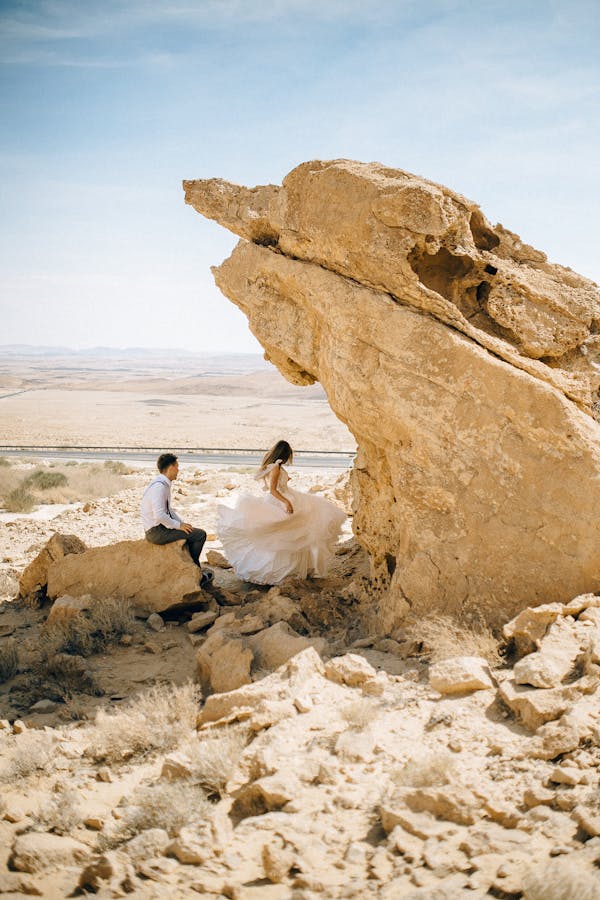
Use leading lines to guide the viewer’s eye through the frame and create a sense of movement or depth. These lines can be either literal, such as roads or rivers, or implied, such as shadow edges or the alignment of objects. Experiment with shooting angles to accentuate these lines and create a more interesting composition.
Lighting
Whether it’s natural or artificial light, how you position it in relation to the subject of your photograph influences its look. Knowing how to manipulate it allows you to create shapes that define boundaries, establish frames and set the tone of the image.
Lighting is also a key element in creating an illusion of depth and three-dimensionality in a flat photograph. The direction and character of the light affect how dark or light areas appear, and how much detail is shown in shadows. The color of the light – warm or cool – helps to convey time of day and contextual clues about the subject’s environment.
Backlighting (lighting an object from behind) creates an outline or silhouette and expression of space that a frontally lit scene lacks. This technique is useful for displaying transparent objects, such as glass and crystal. It also works well for modeling the shape of a subject’s head. Other types of backlighting include loop lighting, named for the little “loop”-shaped shadow beneath a subject’s nose and off to one side, and Rembrandt lighting.
Camera Settings
The way a photo turns out depends on how bright or dark it is, and that’s determined by three settings: aperture, shutter speed, and ISO. Photographers refer to these as the “exposure triangle.” They are linked, so changing one setting has a knock-on effect on the other two.
Aperture is the size of the opening in the camera lens that lets light in. A smaller aperture (f-stop) lets in more light, and a larger one less. Shutter speed is the length of time that the shutter stays open, and how fast it closes. A fast shutter speed will freeze action, but a slow shutter speed can introduce blur (intentional or not).
ISO adjusts the sensor’s sensitivity to light. A lower ISO allows in more light, while a higher ISO will make it harder to focus on a subject. Photographers can choose from several different shooting modes on their camera, including Auto, Aperture priority, and Shutter speed priority. These are designed for specific lighting conditions, such as sports where you need a fast shutter speed, or waterfalls where you want that wispy look of movement.
Writing About Your Photographs
Writing about your photographs gives you an opportunity to express some of the ideas that are inexpressible in pictures. It also gives viewers a sense of who you are and where your work is coming from.
For this step, ask students to create a journal entry about one of the images they’ve chosen. They should start by writing a short description of the photograph (using nouns). They can then write a list of visual details they find interesting or unique in the image. Finally, they can write a list of questions that they have about the photo.
This exercise could also be a great way to help students develop the skills they need for writing formal critiques. For example, students can use this list to help them frame their critiques of other photographs in their portfolios. Also, this list can help them think about how to approach the idea of “art-speak” in their critiques. (Hint: It’s usually not in good taste.)